We thoroughly assess all products before recommending them. We may be compensated if you choose to buy through links on our site.
Question: How Do You Apply Mascara So It Looks Natural?
Answer: To apply mascara so it looks natural, first curl your lashes and wipe excess product from the wand. Wiggle the brush at the base of your lashes, then sweep lightly through the tips. A single coat and a lash comb to prevent clumps are key.
Achieving Beautifully Natural Lashes with Mascara
Many makeup enthusiasts want to enhance their features in a subtle, believable way. They often ask how you apply mascara so it looks natural. The answer is less about finding a magic product and more about mastering a specific application method. It involves careful preparation, precise technique, and the right tools for the job. Forget thick, clumpy, or spidery lashes that scream you are wearing makeup. We want to achieve a look that suggests you were simply blessed with long, dark, perfectly separated lashes. This look opens up your eyes, adds definition, and polishes your entire appearance without overpowering it.
This approach transforms mascara from a heavy coating into a delicate enhancement. You will learn to work with your natural lashes, not against them. The goal is to define each lash from root to tip, creating a soft, feathery fringe. It is a skill that elevates your entire makeup routine. With a few simple adjustments to your process, you can get that effortless, “my lashes but better” effect every single time. It is about control, patience, and understanding how the product and tools work together.
Best Mascaras 2026
Mascara
Have you ever felt paralyzed by choice when facing the seemingly endless aisle of mascaras.…
Choose Your Formula and Shade Wisely
The first step to a natural lash look happens before the wand even touches your lashes. You must select the right mascara. Look for formulas labeled as “defining” or “lengthening” instead of “volumizing.” Volumizing mascaras often have thicker, waxier formulas that build bulk quickly. This can easily lead to clumps and an unnatural finish. Defining and lengthening mascaras typically have a thinner consistency and wands with shorter, more separated bristles. These tools excel at coating each lash individually, which promotes separation and clean length.
The shade of your mascara also plays a critical role. While black mascara is a universal classic, it can sometimes appear harsh, especially on those with very fair hair and skin. For the most natural effect, consider a brown or black-brown mascara. A dark brown shade provides gentle definition that complements your features without creating a stark contrast. It darkens the lashes enough to make them visible but maintains a softness that black often lacks. This simple swap can make a significant difference in the overall subtlety of your eye makeup, helping you achieve that truly effortless look.
Related Article: What Is the Secret to Applying Mascara?
Related Article: How Do You Apply Mascara Properly?
Preparation Is the Foundation for Great Lashes
Properly preparing your lashes is a non-negotiable step for a natural and long-lasting mascara application. You should always start with clean, dry lashes. Any residual oil or leftover makeup from the day before can cause your mascara to smudge or prevent it from adhering properly. A quick wipe with a gentle, oil-free makeup remover ensures you have a perfect canvas. This simple action helps the mascara grip each lash for better definition and hold throughout the day.
Next, you must use an eyelash curler. This single tool does more to open up your eyes than mascara alone ever could. Position the curler at the base of your upper lashes, getting as close to the root as possible without pinching your skin. Gently squeeze and hold for about ten seconds. For an even more natural, sweeping curve, you can “walk” the curler up your lashes, pulsing gently in the middle and again near the tips. Curling your lashes first means you will need less mascara to make an impact, as the upward lift already makes them appear longer and more prominent.
Perfect Your Application Technique
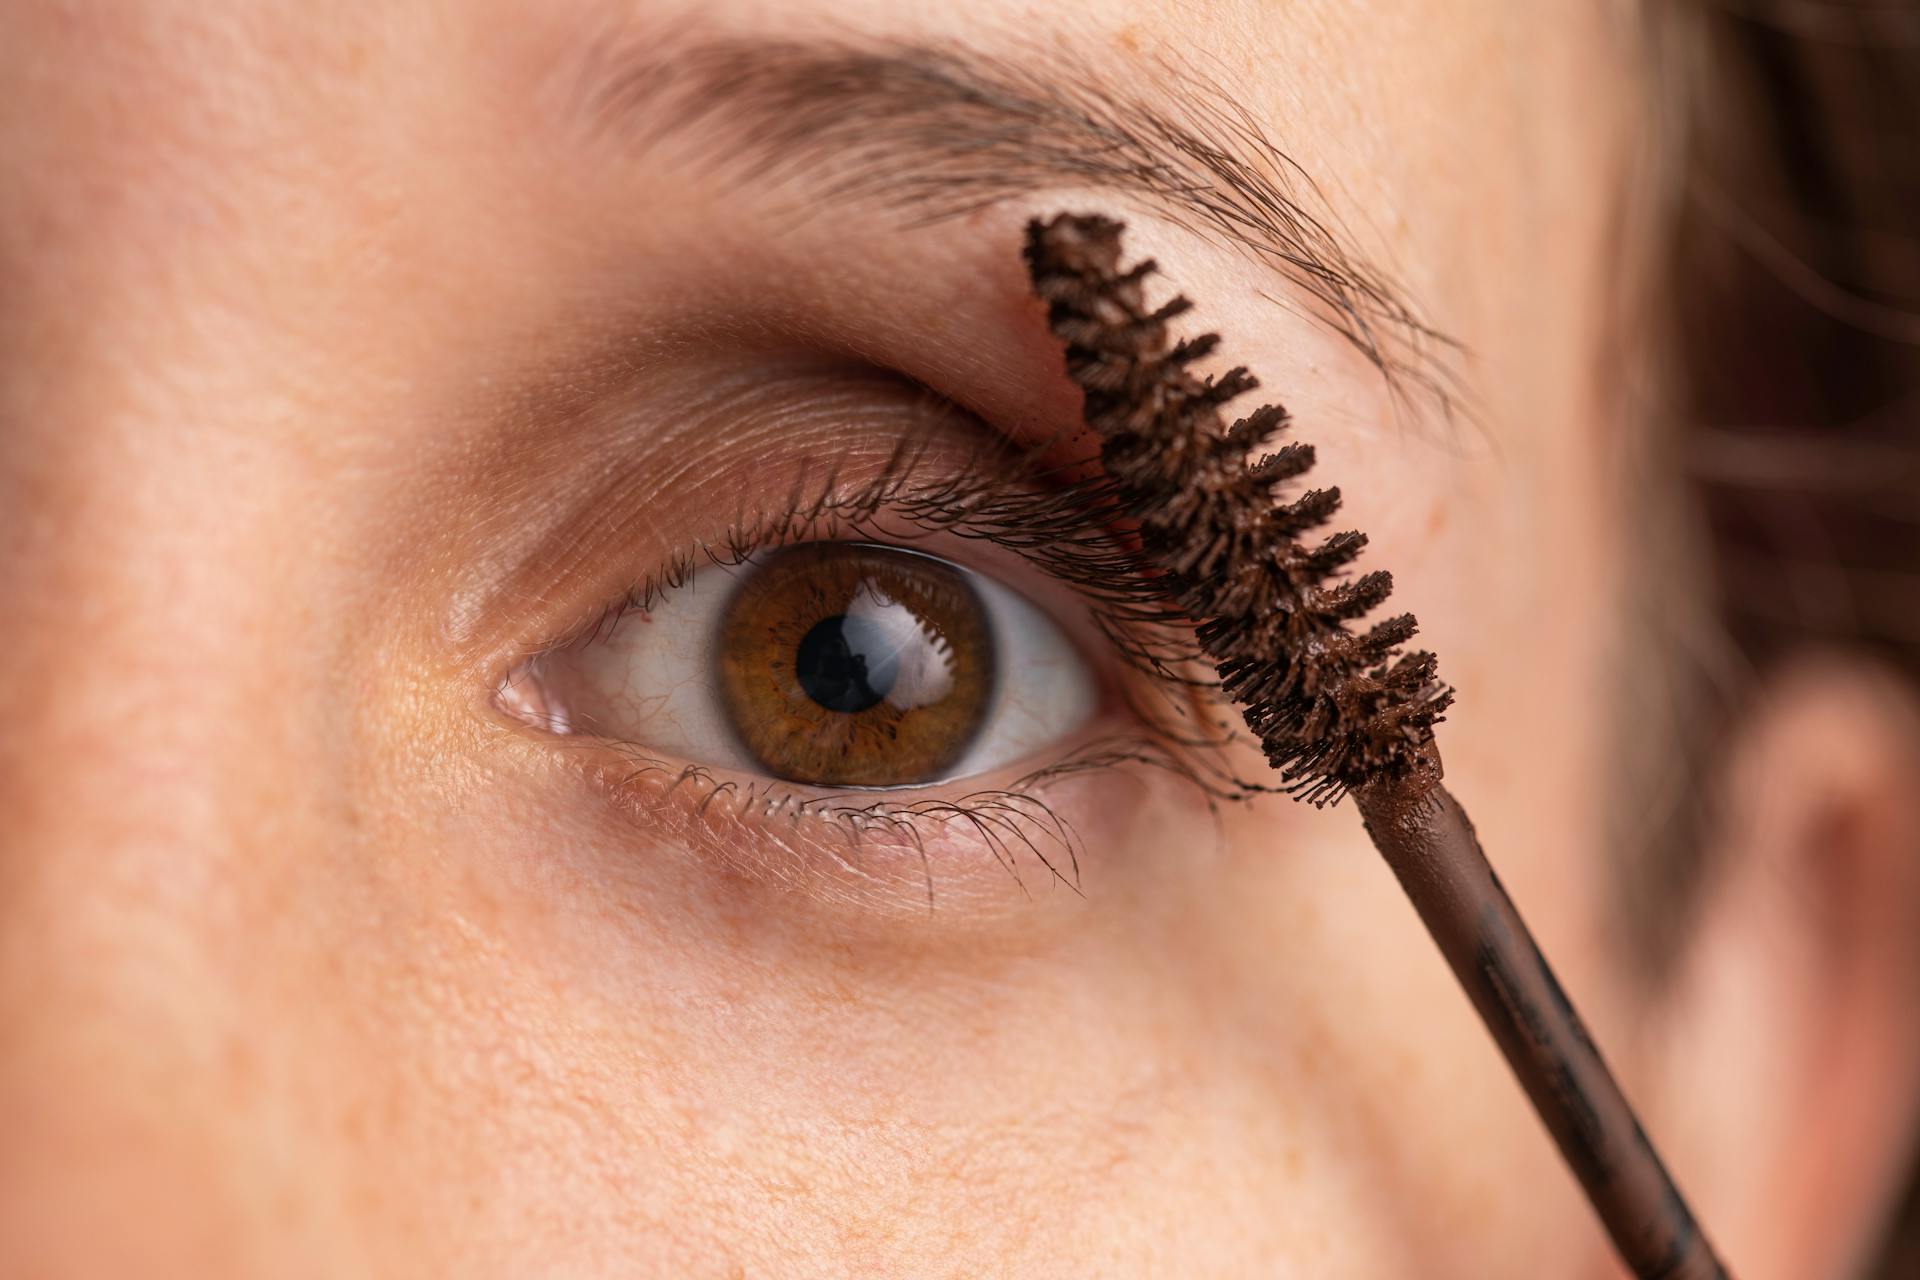
The way you physically apply the mascara is the most important part of this process. The “wiggle and comb” method provides the best results for a natural, clump-free finish. It ensures you deposit product where you need it most while keeping the ends of your lashes light and separated. This technique requires a steady hand and a bit of practice, but you will master it quickly.
Place the Wand at the Lash Root
Start by taking the mascara wand out of the tube and wiping any excess product off on the rim. Too much mascara on the brush is the primary cause of clumps. Place the wand at the very base of your upper lashes. Gently wiggle the wand back and forth right at the roots. This deposits a concentrated amount of product at the lash line, which creates the illusion of fullness and works like a subtle eyeliner. This root-focused application grounds the look and makes your lash line appear thicker.
Pull the Wand Straight Through
After you wiggle the wand at the base, pull the brush straight up through the tips of your lashes in one smooth, continuous motion. Do not wiggle the wand as you move up the lash. This combing motion separates the lashes and coats them evenly with a thin layer of mascara. It prevents the tips from becoming heavy or sticking together, which maintains that feathery, natural appearance. This two-step process gives you definition at the base and clean, separated length at the tips.
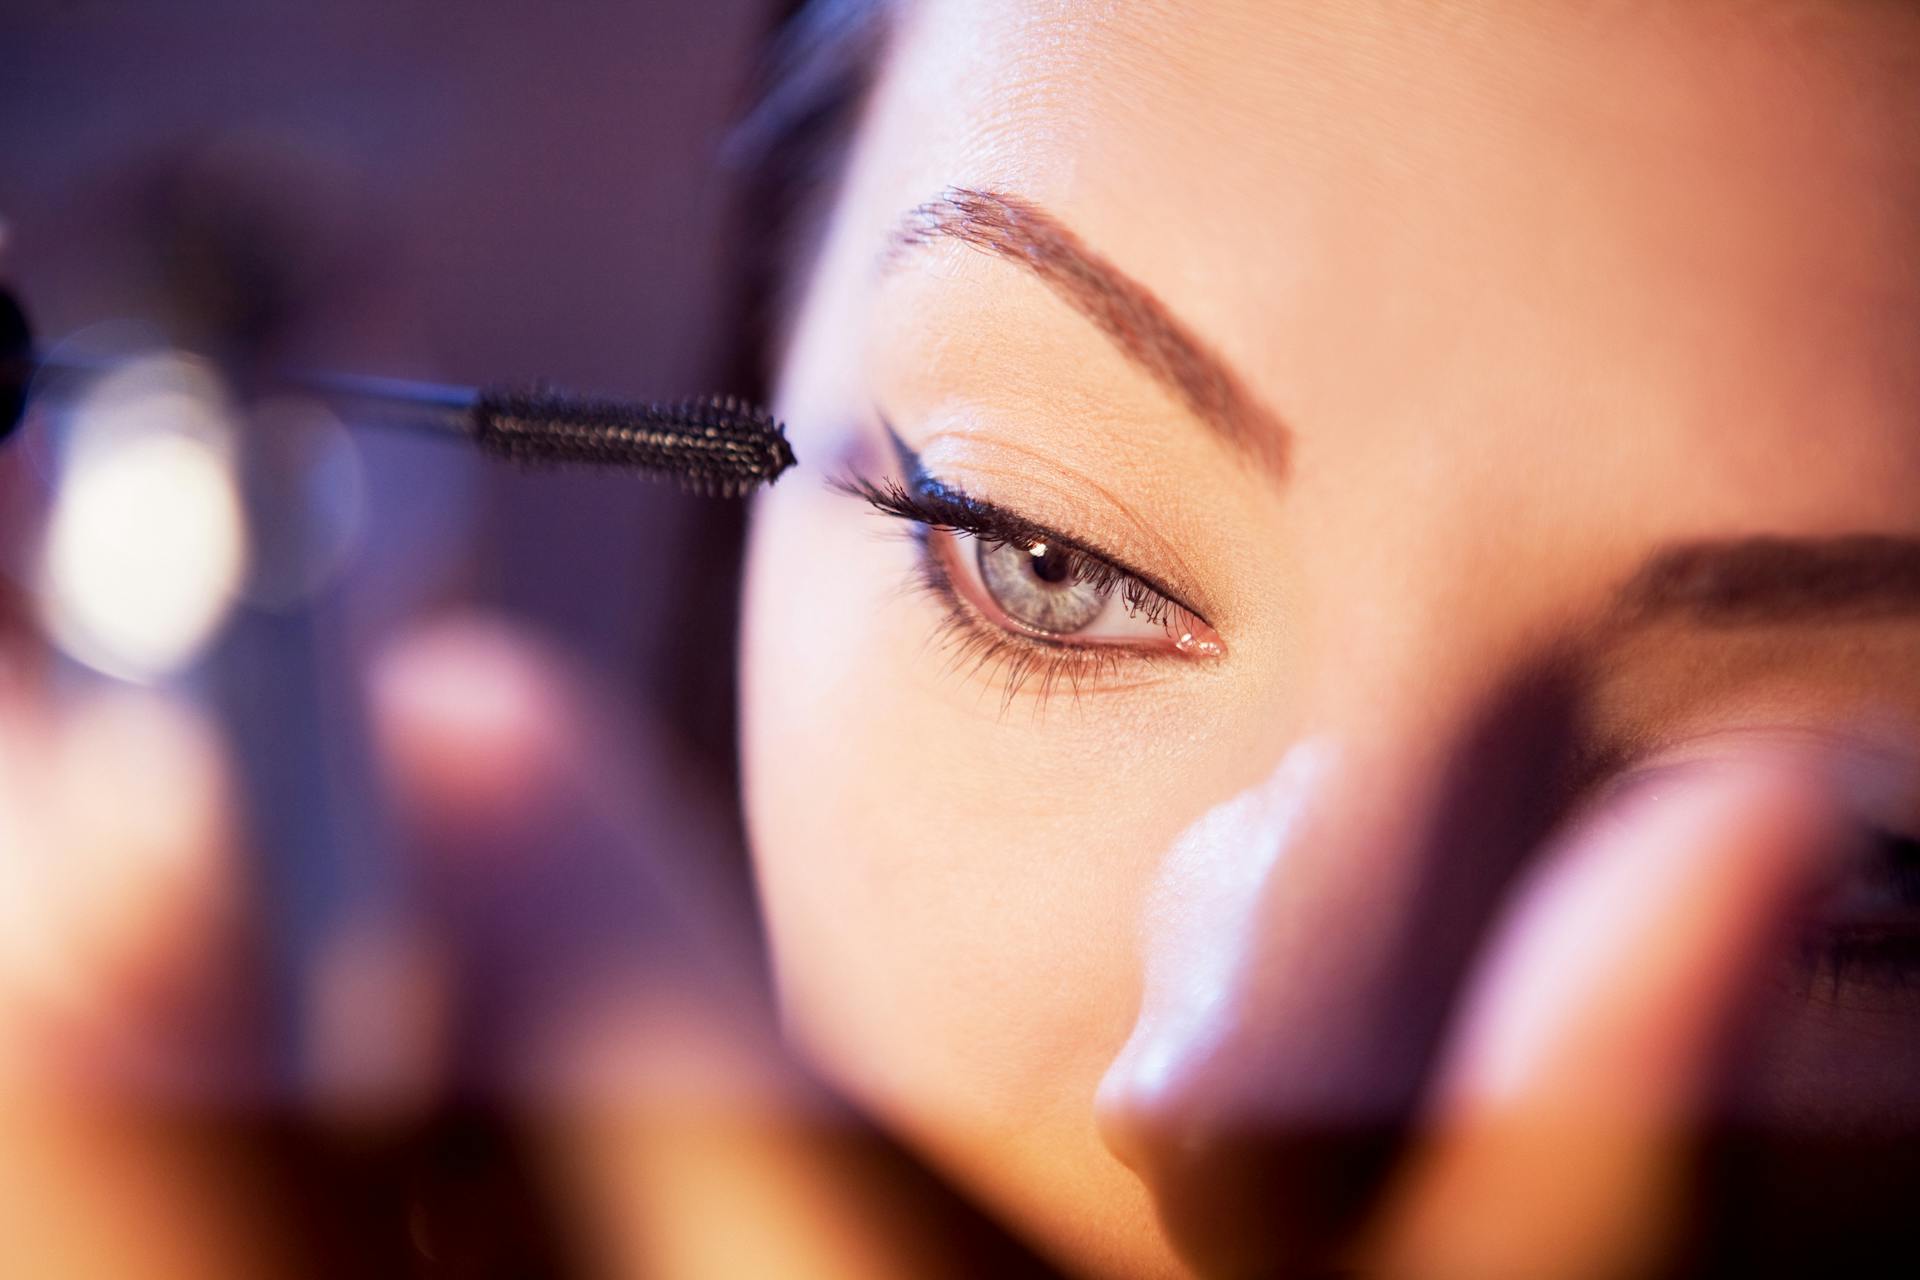
Address Every Lash, Including the Bottom Ones
For a truly polished look, you need to give attention to every single lash. The tiny lashes in the inner and outer corners of your eyes are often missed during application. These small details make a big difference. To reach them, turn your mascara wand vertically. Use the very tip of the brush to lightly coat these hard-to-reach lashes. This ensures a uniform, fanned-out effect across your entire eye, making your eyes look wider and more awake. This precision prevents gaps in your lash line for a complete finish.
Applying mascara to your bottom lashes can be tricky, as it is easy to overdo it. An overly heavy application on the lower lashes can look unnatural and even cast shadows that accentuate dark circles. To avoid this, use a very light hand. Use the mascara that is leftover on the wand after you have finished your top lashes. Or, wipe the wand almost completely clean before application. Lightly graze the brush over your bottom lashes. Alternatively, hold the wand vertically and use the tip to touch each lash individually for ultimate control and a delicate, defined look.
Keep Your Application Clean and Clump-Free
Even with the best technique, mishaps can happen. Clumps or smudges are common, but they are easy to fix if you know what to do. The key is to address any issues before the mascara fully dries. If you notice a few lashes sticking together, do not try to apply another coat to fix it. This will only make the clump bigger. Instead, you need a separate, clean tool to solve the problem. Acting quickly with the right tool preserves the natural look you have worked to create.
Use a Clean Spoolie for Separation
Keep a clean, dry spoolie brush on hand. If your lashes start to clump, simply comb through them with the clean spoolie while the mascara is still wet. The bristles will separate the lashes and remove any excess product. This is the most effective way to de-clump your lashes without having to start over. It is a simple trick that professional makeup artists use constantly.
Remove Smudges with a Dry Cotton Swab
If you accidentally get a smudge of mascara on your eyelid or under your eye, resist the urge to wipe it away immediately. Wiping wet mascara will only smear it and create a bigger mess. Let the mascara spot dry completely, which usually takes only a minute. Once it is dry, take a clean, dry cotton swab and gently flick the spot away. The dried mascara will flake off easily without disturbing the rest of your makeup.
Your Final Look Depends on Practice and Patience
Achieving a natural mascara look is a skill that combines the right product, proper preparation, and a refined technique. It begins with choosing a defining formula, perhaps in a soft brown shade, to avoid a harsh effect. You must always curl your lashes to open up the eyes and create lift before you even open your mascara tube. The application itself is a deliberate, two-part motion. You wiggle the wand at the roots to build depth and then comb it cleanly through the tips for separation and length. This prevents the clumpy, heavy finish we all want to avoid.
Remember to pay attention to the details. You can use the tip of your wand to coat the small corner lashes, and you should always use a light hand on the bottom lashes. If you make a mistake, a clean spoolie or a dry cotton swab are your best tools for a quick fix. Mastering this approach may take a few tries, but the payoff is enormous. Your lashes will look defined, long, and feathery. People will notice your beautiful eyes, not your mascara. This technique enhances your natural beauty in a truly timeless and elegant way.