
We thoroughly assess all products before recommending them. We may be compensated if you choose to buy through links on our site.
Question: What Is the Secret to Applying Mascara?
Answer: What Is the Secret to Applying Mascara? The secret is to wiggle the wand at the base of your lashes to build volume and lift, then pull it straight through to the tips. This technique prevents clumps while adding length for a full, fanned-out effect.
The True Secret to Flawless Mascara Application
Many makeup enthusiasts ask what the secret to applying mascara is for that perfect, eye-opening effect. You see it on models and celebrities: long, voluminous lashes that look defined and feathery, never clumpy or spidery. The answer is not a single product or a magical wand. Instead, it is a combination of proper preparation, the right tools, and a specific application technique. Some grab their mascara tube and swipe it on as a final thought, but this simple step holds the power to transform your entire look. Achieving beautiful lashes requires a little more intention and a few key steps that professionals use every day.
This process elevates your mascara from a simple colorant to a powerful tool that frames your eyes. We will explore the essential steps that take your lashes from average to amazing. From the initial curl to the final coat, each stage plays a vital role. You will learn how to choose the best formula for your lash type, master the application for maximum impact, and build layers for dramatic volume without creating clumps. These are the foundational skills that make a significant difference in your final makeup result, ensuring your eyes pop every single time.
Best Mascaras 2026
Mascara
Have you ever felt paralyzed by choice when facing the seemingly endless aisle of mascaras.…
Prepare Your Lashes for Perfection
Great mascara application begins long before you open the tube. The first step is to prepare your eyelashes. Always start with clean, dry lashes, free from any leftover makeup or oils. This clean canvas helps the mascara adhere better and last longer throughout the day. The most impactful preparation step is using an eyelash curler. Many people skip this, but it is a game-changer for creating an open, awake look. Position the curler at the base of your upper lashes, making sure not to pinch your skin. Gently squeeze and hold for about ten seconds.
For an even more dramatic and lasting curl, you can “walk” the curler up your lashes. After curling at the base, move it to the middle of your lashes and press again, then repeat near the tips. This creates a gentle curve instead of a sharp crimp. Following the curl, consider an eyelash primer. A primer coats your lashes with a nourishing formula that creates a smooth base for mascara. It often contains conditioning ingredients that protect your lashes while adding an extra layer of volume and length. A good primer helps your mascara go on more smoothly and prevents flaking or smudging later in the day.
Related Article: What Is the Correct Way to Remove Mascara?
Related Article: How Do You Apply Mascara So It Looks Natural?
Select the Right Mascara Formula and Brush
The mascara aisle can feel overwhelming with its vast array of options. Understanding the different formulas and wand types helps you select the perfect product for your needs. Mascara formulas generally fall into a few main categories: lengthening, volumizing, curling, and waterproof. If you have short lashes, a lengthening formula with tiny fibers will help extend your tips. For sparse lashes, a thick, creamy volumizing formula will build density at the base. Curling mascaras have polymers that contract as they dry, helping to lift and hold a curl. Waterproof formulas are ideal for humid climates, emotional events, or oily eyelids.
The wand, or brush, is just as important as the formula. The shape and bristle type determine how the product is applied. Large, dense brushes are great for building massive volume, as they deposit a lot of product quickly. Thin, plastic wands with short bristles excel at separating and defining each lash, making them perfect for a natural look or for reaching small inner-corner lashes. A curved wand helps lift and curl lashes as you apply. Experimenting with different combinations of formulas and wands will help you discover the ideal match for your lash type and your desired makeup style.
Application Method
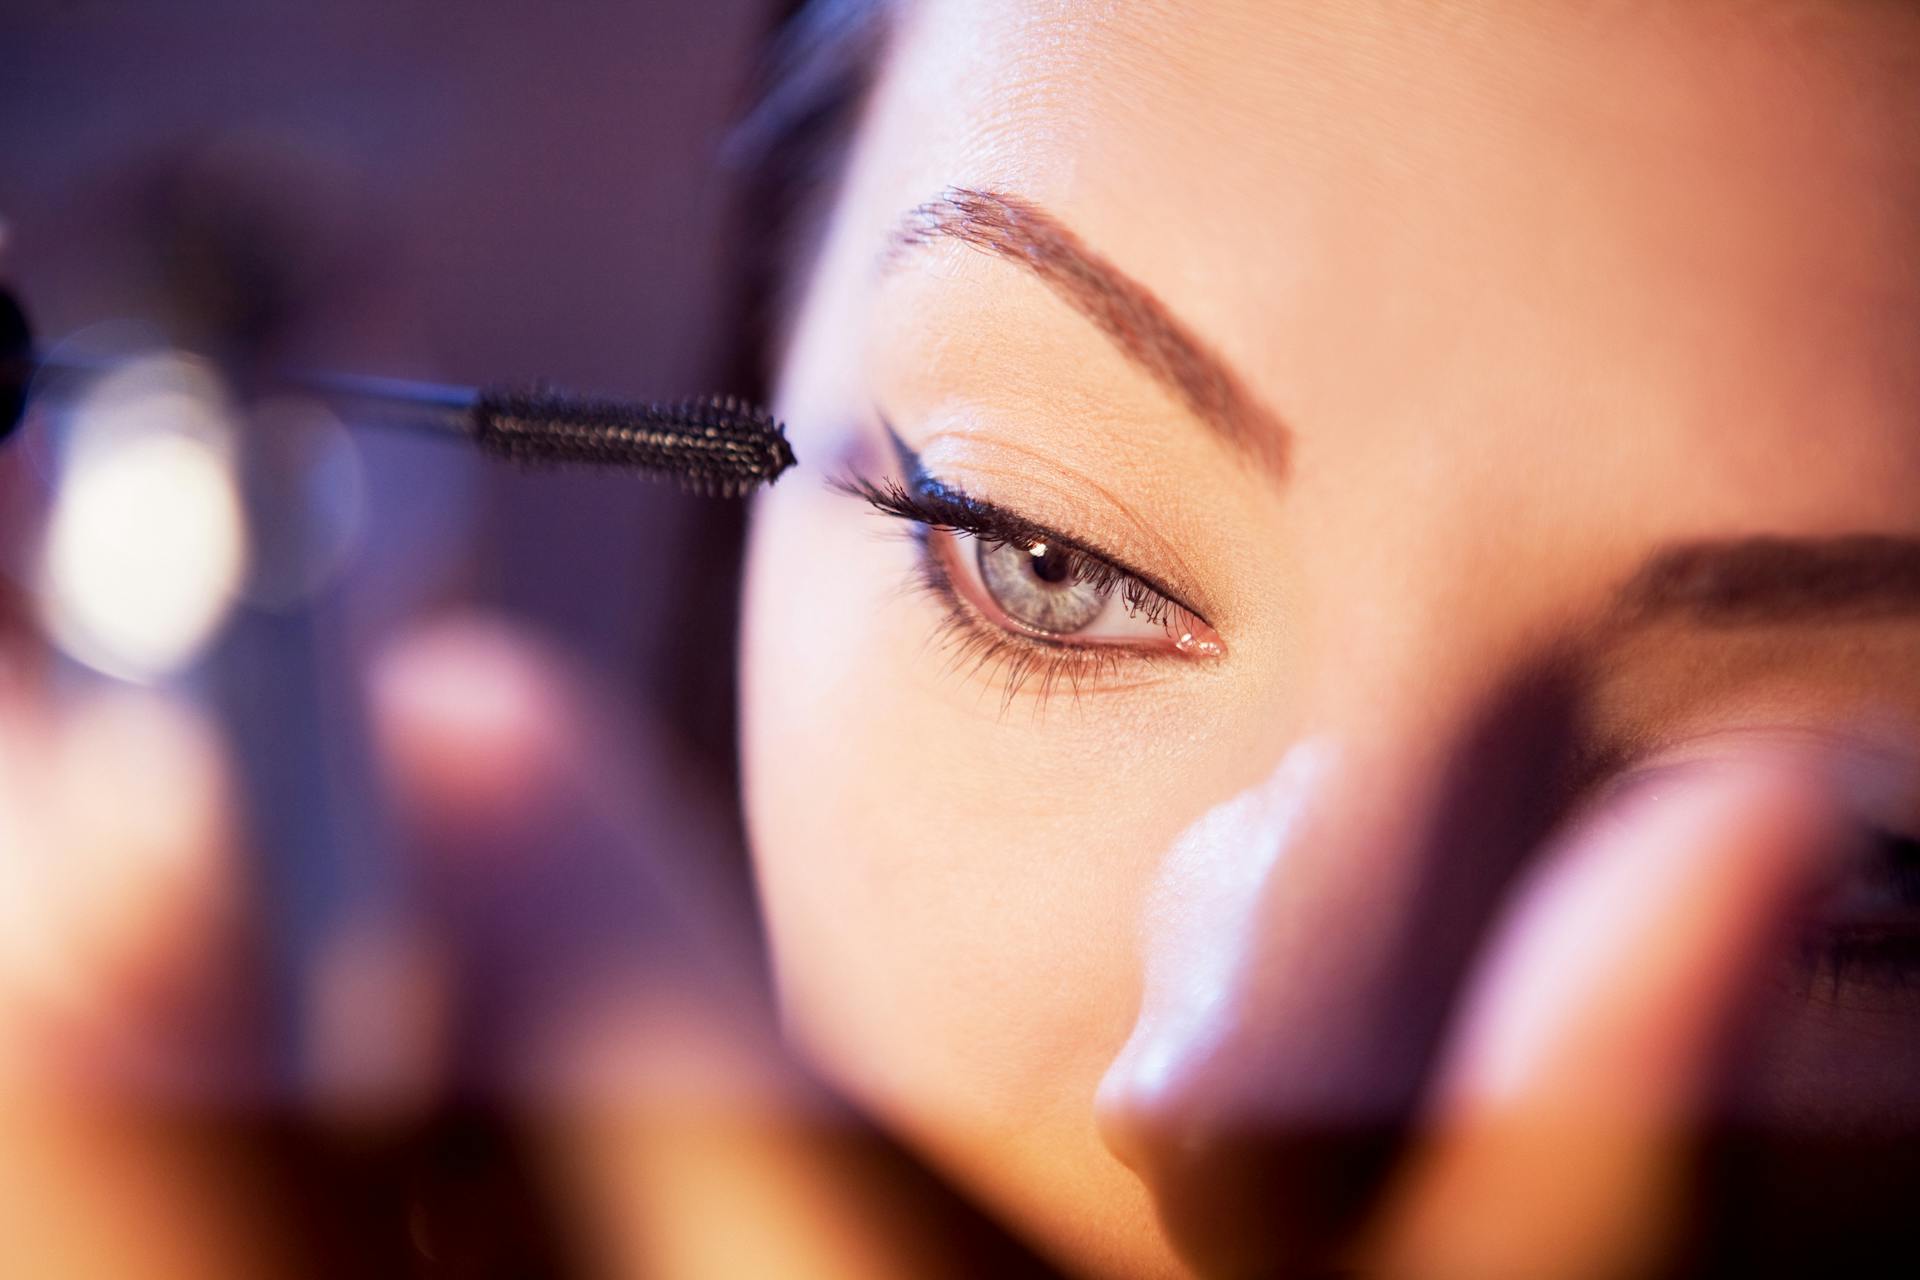
The way you apply your mascara makes all the difference. The most effective technique used by makeup artists is the “wiggle and sweep.” Start by looking straight into a mirror. Take the mascara wand, and before applying, wipe any excess product off on the lip of the tube. This simple action is key to preventing clumps. Place the wand at the very base of your upper lashes, getting as close to the root as possible. Gently wiggle the wand back and forth. This deposits the majority of the product at the roots, which creates the illusion of thicker lashes and a fuller lash line.
After you build volume at the base, slowly sweep the wand upward through the tips of your lashes. This motion lengthens and separates them. For the inner and outer corner lashes, use the tip of the wand to coat each hair individually. For even more impact, you can apply mascara to the top side of your lashes first. Look down and brush the mascara from root to tip on the top of your lashes. Then, look up and apply from the underside using the wiggle and sweep method. This ensures every single lash is fully coated, giving you a dramatic, 360-degree effect.
Layering for Impact, Not Clumps
Building multiple coats of mascara is the best way to achieve bold, dramatic lashes. However, there is a fine line between luscious volume and a clumpy mess. The key to successful layering is timing and technique. Apply your second coat while the first coat is still slightly wet or tacky. If you wait until the first layer is completely dry, the fresh mascara will snag on the dried product, creating lumps and making your lashes stick together. Working while the mascara is still pliable allows the coats to meld together seamlessly for a smooth, built-up finish. This method allows you to add significant volume without sacrificing definition.
Before each coat, always remember to remove excess product from the wand. A heavily loaded brush is a primary cause of clumping. Between coats, you can use a clean spoolie brush or a metal lash comb to gently brush through your lashes. This separates any hairs that have started to stick together and distributes the product evenly. A metal lash comb is particularly effective at de-clumping and creating a fanned-out, feathery look. With this careful approach, you can apply two or even three coats of mascara for maximum impact, resulting in lashes that are thick, long, and beautifully defined.
Pro-Level Tricks for Standout Lashes
Once you have the basics down, a few professional tricks can elevate your lash game even further. These small adjustments can make a big visual impact, giving you lashes that truly stand out. They are simple to incorporate into your routine and deliver impressive results. Try one or all of these tips to customize your look.
-
Bending the Wand
For better control and easier application, especially in hard-to-reach areas, carefully bend the tip of your mascara wand to a 90-degree angle. This ergonomic shift gives you a new level of precision, allowing you to easily coat the tiny lashes on the inner and outer corners of your eyes without smudging product on your skin. The wand becomes an extension of your hand, making the process more intuitive.
-
Using Different Mascaras
Do not limit yourself to just one mascara formula. Makeup artists often layer different types to achieve a custom effect. Start with a coat of lengthening mascara to extend your lashes. Follow it with a volumizing mascara, focusing the application at the roots to build thickness and density. This cocktail approach gives you the benefits of both formulas, resulting in lashes that are both long and full.
-
The Power of Tightlining
Tightlining is the technique of applying a dark, waterproof eyeliner to your upper waterline, the strip of skin just beneath your upper lashes. This subtle step fills in any gaps between your lashes, making the base of your lash line appear darker and thicker. It creates a seamless depth and makes your mascara look even more impactful, defining your eyes without the look of a heavy eyeliner.
Troubleshooting Smudges and Gentle Removal
Even with the most careful application, mascara mistakes can happen. A sudden sneeze or an unsteady hand can lead to smudges on your eyelid or under your eye. The most important rule for fixing a smudge is to let it dry completely. If you try to wipe away wet mascara, you will only smear it and ruin your eyeshadow. Once the spot is fully dry, take a clean spoolie brush or a cotton swab and gently flick the mascara off your skin. The dried product will flake away easily without disturbing the makeup underneath. This trick is simple, effective, and saves you from having to redo your entire eye look.
At the end of the day, proper removal is just as crucial as proper application. Vigorously rubbing your eyes to remove stubborn mascara can damage your delicate lashes, causing them to become brittle or even fall out. Invest in a quality eye makeup remover, especially for waterproof formulas. An oil-based cleanser or a dual-phase remover will dissolve the mascara gently and effectively. Apply the remover to a cotton pad, press it against your closed eye for about 20 seconds to let it break down the product, and then gently wipe downwards. Never scrub back and forth. This gentle approach preserves the health and fullness of your natural lashes.
Conclusion
Achieving flawless mascara is a skill refined through practice. The secret is not a single, hidden trick but a series of intentional steps that work together. By preparing your lashes with a curler and primer, you create the ideal foundation for application. Selecting the right formula and wand for your specific lash type allows you to achieve your desired look, whether it is natural definition or dramatic volume. Mastering the wiggle and sweep technique ensures that you build density at the root and length at the tip for a wide-eyed effect. Every detail contributes to the final, beautiful result.
Remember that layering correctly prevents clumps, and professional tips like tightlining can amplify your look. Being patient and learning how to fix small mistakes will build your confidence. Most importantly, gentle removal protects the health of your lashes for the future. By incorporating these methods into your routine, you transform a mundane step into an artful process. You will soon find your rhythm and discover what works best for you. The result will be consistently beautiful, standout lashes that perfectly frame your eyes and complete any makeup look with a polished, professional touch.