We thoroughly assess all products before recommending them. We may be compensated if you choose to buy through links on our site.
Question: How Do You Apply Mascara Properly?
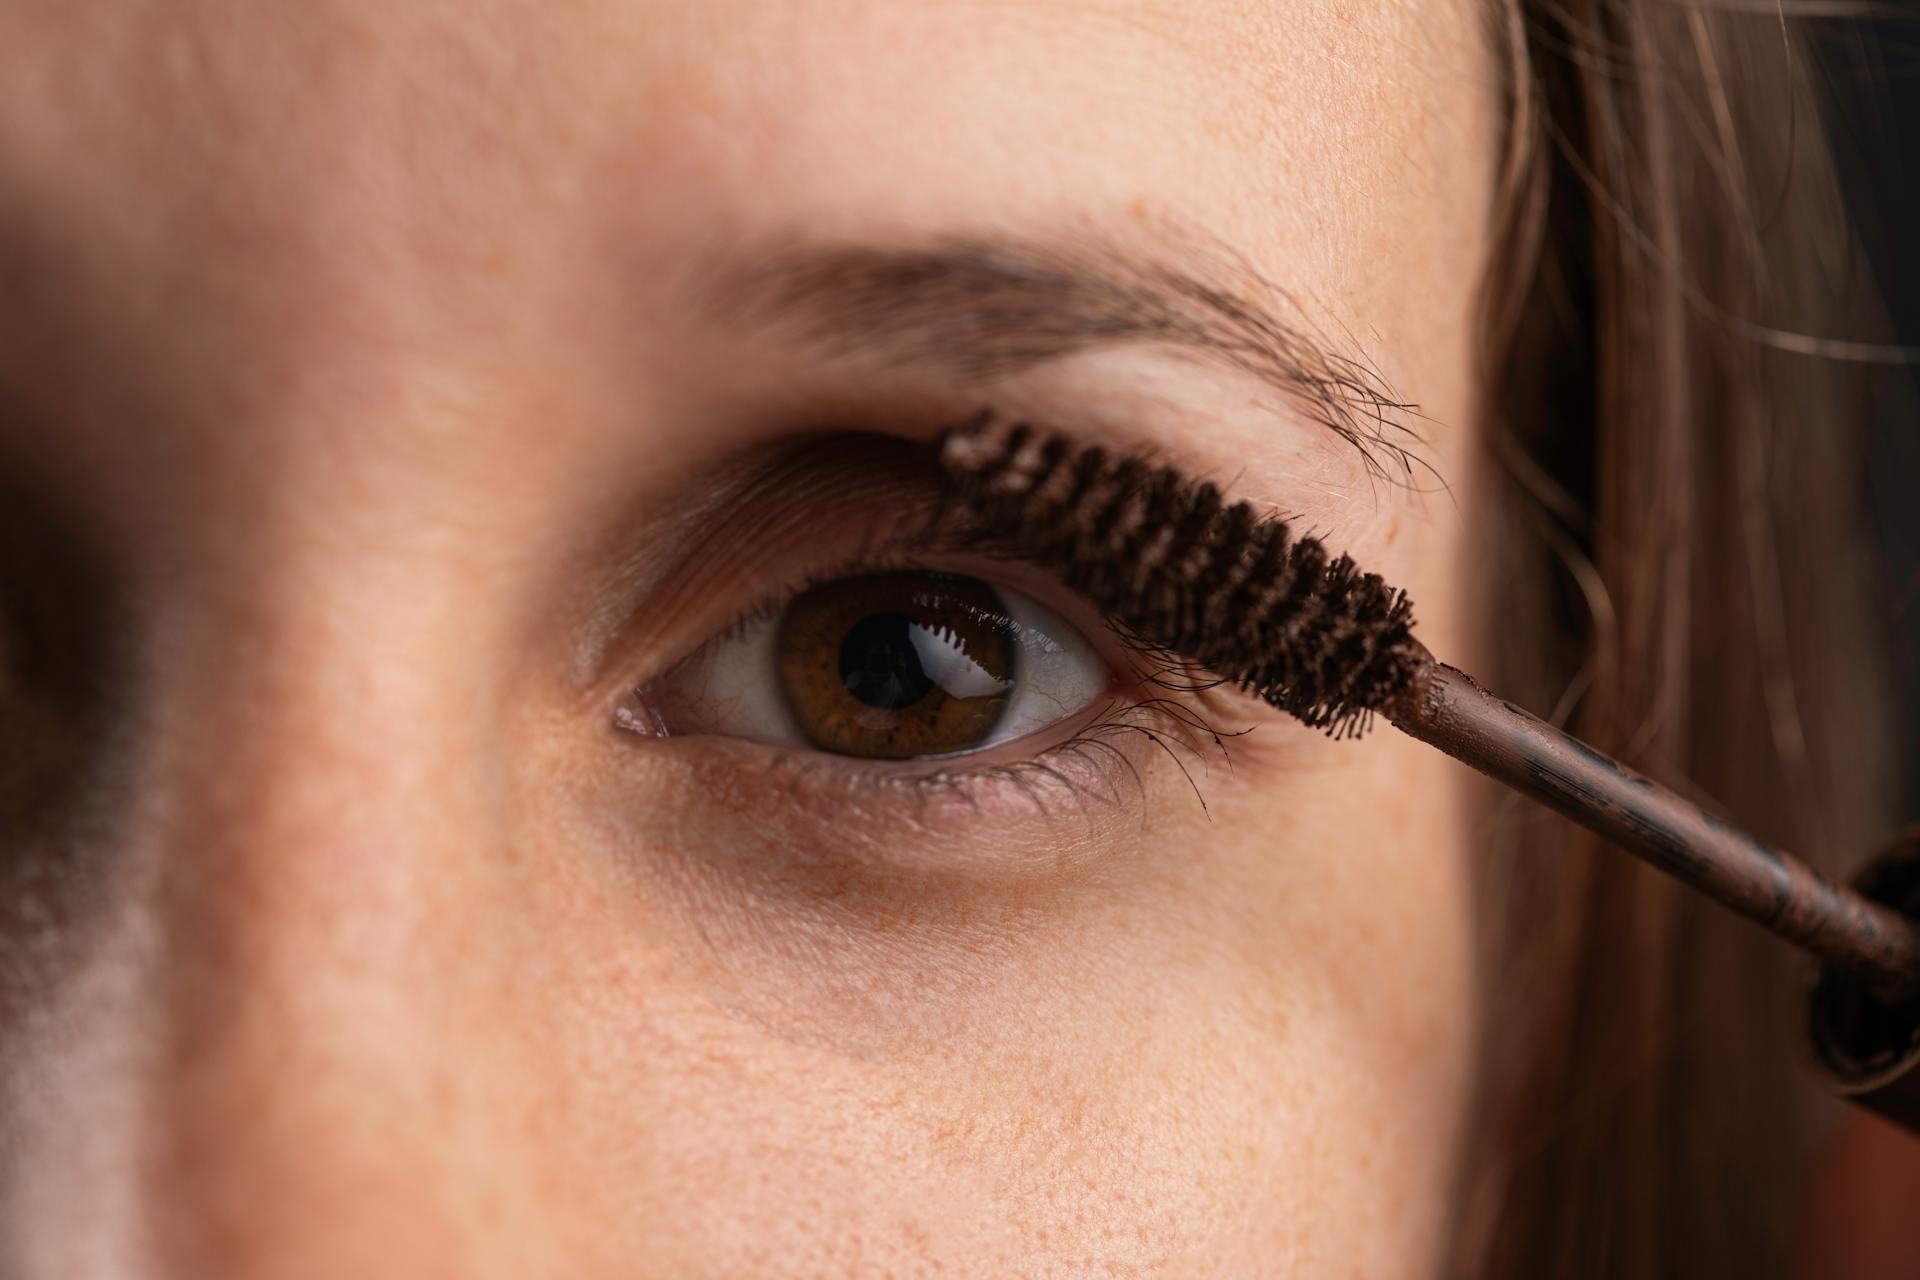
Answer: To apply mascara properly, start at the base of your lashes and wiggle the wand back and forth, then sweep up to the tips. Wipe excess product from the wand to prevent clumps. For added volume, apply a second coat before the first is completely dry.
Mastering Your Mascara Application
Mascara is a fundamental tool in any makeup bag. It possesses the power to transform your eyes, making them appear wider, brighter, and more awake with just a few swipes. Many people wonder how do you apply mascara properly to achieve that coveted fluttery, false-lash effect without clumps or smudges. The answer involves more than a simple flick of the wrist. It requires a thoughtful approach that begins before the wand even touches your lashes. Understanding the right techniques can elevate your makeup from simple to stunning.
This process includes preparing your lashes, selecting the right formula and wand, and using a precise application method. Each step builds upon the last to create a polished and impactful result. We will explore the exact steps to help you apply mascara like a professional. You will learn to avoid common pitfalls and discover tricks that makeup artists use to create flawless, eye-catching lashes every single time you reach for your favorite tube. Prepare to unlock the full potential of your mascara.
Best Mascaras 2026
Mascara
Have you ever felt paralyzed by choice when facing the seemingly endless aisle of mascaras.…
Prepping Your Lashes for Perfection
Great mascara application starts with a clean canvas. Ensure your lashes are completely free of any old makeup, oils, or residue from skincare products. You can use a gentle, oil-free makeup remover on a cotton pad to wipe your lashes clean. Dry lashes hold mascara much better than oily ones, preventing smudging throughout the day. This simple step creates the ideal foundation for the product to adhere to, giving you longer wear and better volume.
Next, an eyelash curler is your secret weapon for an instant eye-opening effect. Many people skip this step, but it makes a significant difference. A good curl lifts the lashes, making them look longer and your eyes appear larger. Position the curler at the base of your upper lashes, getting as close to the root as possible without pinching your skin. Hold it gently and pulse a few times instead of clamping down hard. Move the curler to the middle of your lashes and pulse again, then finish at the tips for a natural, sweeping curve.
For an extra boost in volume and length, consider using a lash primer. A primer coats your lashes with a conditioning formula that helps the mascara glide on smoothly. It also thickens and separates each lash, creating a fuller look before you even apply your color. Apply one thin coat of primer from root to tip, just as you would with mascara. Allow it to set for about 30 seconds before moving on to your mascara. This step also helps your mascara last longer and prevents flaking.
Related Article: How Do You Apply Mascara So It Looks Natural?
Related Article: Are You Supposed to Layer Mascara?
Selecting the Perfect Mascara Wand and Formula
The mascara wand, or spoolie, is just as important as the formula itself. Different wand shapes create different effects, so choosing the right one depends on your desired look. The market offers a huge variety of options designed for specific outcomes. Understanding these differences helps you select the best tool for your lash goals.
-
Volumizing Wands
These wands typically have dense, tightly packed bristles. They are designed to load a generous amount of product onto the lashes at the root. This builds thickness and creates a fuller, more dramatic lash line. If you have sparse or fine lashes, a volumizing wand will help create the illusion of density and depth.
-
Lengthening Wands
Lengthening wands often have sparser, comb-like bristles. These bristles are excellent for separating and coating each lash individually from root to tip. The design allows you to pull the formula through the ends of your lashes, extending their appearance. This type of wand is ideal for those with shorter lashes who want to add noticeable length.
-
Curling Wands
Curved wands are specifically shaped to mimic the natural curve of your eye. This shape helps lift and curl the lashes as you apply the product. It works in tandem with your eyelash curler to lock in the shape for the entire day. If your lashes are straight and tend to fall flat, a curling wand provides the lift you need.
You must also choose between a waterproof and a regular mascara formula. Waterproof mascara is great for humid climates, emotional events, or swimming. It contains specific polymers that resist water. However, it can be difficult to remove and may dry out your lashes with daily use. Regular formulas are easier to remove and are often a better choice for everyday wear, as they are gentler on your lashes.
Related Article: What is the Secret to Applying Mascara?
The Wiggle and Roll Technique
The most effective way to apply mascara for both volume and length is the wiggle and roll technique. This method ensures every lash is coated evenly from the very base to the very tip. First, remove the wand from the tube and wipe off any excess product on the rim. Too much mascara on the brush is the primary cause of clumping. You want a clean, evenly coated wand before you begin.
Start by placing the wand at the base of your upper lashes. Press it gently into the root of your lashes to create a dark, full baseline, which makes your lash line appear thicker. Now, begin the “wiggle.” Gently move the wand back and forth in a zigzag motion. This motion builds volume at the base, where you want it most, and helps separate the lashes. The wiggling action deposits a good amount of product right at the roots, giving your lashes a strong foundation.
After wiggling at the base, pull the wand straight up through the tips of your lashes. You can slightly roll the wand as you pull it through to help coat and separate the ends. This combined motion coats the entire lash without clumping the tips. For a second coat, wait about 30 seconds for the first coat to become slightly tacky but not completely dry. Applying a second coat while the first is still wet can cause lashes to stick together. Repeat the wiggle and roll technique for added drama. Most people find that two coats are perfect for a defined, impactful look.
Targeting Every Single Lash
A truly professional mascara application leaves no lash behind. Achieving a full, fanned-out effect means paying special attention to the small, hard-to-reach lashes in the inner and outer corners of your eyes. Coating these lashes completes the look and makes your eyes appear wider and more balanced. The trick is to adjust your wand angle and technique for these delicate areas.
-
Reaching Inner Corner Lashes
The lashes in the inner corner are often shorter and finer. To coat them effectively, turn the mascara wand vertically. Use the very tip of the wand to gently tap or paint the mascara onto these tiny lashes. This gives you more control and prevents you from smudging product on your nose or eyelid. A smaller, more detailed wand can also be very helpful for this area.
-
Coating Outer Corner Lashes
For the outer corner lashes, use the standard horizontal wand position. As you apply, angle the wand slightly outwards, pulling the lashes toward your temple. This motion helps to elongate the eye shape, creating a cat-eye effect. It fans out the lashes beautifully, adding a touch of glamour and lift to your overall look.
Applying mascara to your bottom lashes is a personal preference, but it can help balance the look of heavily mascaraed top lashes. Use a light hand to avoid a clumpy or spidery appearance. Wipe most of the product off the wand before you begin. Hold the wand vertically and use the tip to lightly coat each bottom lash. Alternatively, you can gently sweep the wand horizontally across the lashes for a very soft, natural definition. This prevents the application from looking too heavy and avoids smudging under your eyes.
Common Mistakes and Quick Fixes
Even with perfect technique, mascara mishaps can happen. Knowing how to fix them quickly and cleanly is a valuable skill. Clumps, smudges, and the dreaded spider lashes are common issues, but they are all easily correctable with the right tools and a bit of patience. Having a clean spoolie brush and some pointed cotton swabs in your makeup kit is essential for these quick fixes.
-
Removing Clumps
Clumps happen when too much product is applied at once or when mascara starts to dry out. If you notice a clump, act while the mascara is still wet. Take a clean spoolie brush and gently comb through your lashes from base to tip. The clean bristles will separate the lashes and remove the excess product, leaving you with a smooth, defined finish. Avoid adding more mascara on top of a clump, as this will only worsen the problem.
-
Cleaning Up Smudges
It is easy to accidentally smudge mascara on your eyelid or under your eye during application. The key is to wait for the smudge to dry completely. If you try to wipe it away while it is wet, you will only smear it and make a bigger mess. Once the mascara is dry, take a dry, pointed cotton swab and gently flick the smudge off your skin. It should come away cleanly without disturbing your eyeshadow or concealer. For stubborn spots, you can dip the tip of the swab in a tiny bit of makeup remover.
Spider lashes occur when lashes are so heavily coated that they stick together in thick, spiky groups. To avoid this, always wipe excess mascara off the wand before applying. Focus on building thin, even coats rather than applying one thick, heavy layer. If you do end up with spider lashes, use a lash comb, which has fine metal teeth, to carefully separate them while the mascara is still wet.
Advanced Tips for Next-Level Lashes
Once you have mastered the basics of mascara application, you can incorporate a few advanced techniques to elevate your lash game. These professional tricks add extra definition, fullness, and a custom finish to your look. They require a little more time and precision but the stunning results are worth the effort. These methods help you achieve a look that rivals false lashes.
Tightlining is a technique that creates the illusion of a fuller lash line. It involves applying a dark, waterproof eyeliner pencil directly to your upper waterline, the strip of skin just beneath your upper lashes. Gently lift your eyelid and trace the liner along this area. This fills in any gaps between your lashes, making their base appear darker and denser. The result is subtle yet incredibly effective for defining your eyes without the look of obvious eyeliner.
-
The Lash Comb Technique
While a clean spoolie is great for fixing clumps, a metal lash comb offers unparalleled separation. After each coat of mascara, and while the formula is still wet, gently run a lash comb through your lashes from root to tip. The fine metal teeth separate each individual lash, creating a perfectly fanned-out, feathery look. This tool is a favorite among makeup artists for creating clean, defined lashes.
Another pro tip is to layer different mascara formulas. You can combine the benefits of different products to create a customized effect. For example, start with one coat of a lengthening mascara to extend your lashes. Let it set for a moment, then follow up with a coat of volumizing mascara to add thickness and drama. This layering approach allows you to build both length and volume for a truly impactful, multi-dimensional lash look that a single mascara might not achieve on its own.
Achieving Your Best Lashes Ever
Perfecting your mascara application is a journey of practice and discovery. By following these steps, you can transform a simple daily routine into an art form that beautifully enhances your eyes. Remember to start with a clean, curled base to give your mascara the best possible foundation. A lash primer can further amplify the results, providing extra volume and hold. Taking the time for these preparation steps makes a noticeable difference in the final outcome, ensuring your lashes look their absolute best.
Choosing the right wand and formula for your specific lash type and desired look is important. Whether you seek length, volume, or curl, a tool is designed to help you achieve it. The wiggle and roll technique remains the most effective method for coating every lash evenly from root to tip. Pay attention to the inner and outer corners and be gentle with your lower lashes for a balanced, wide-eyed effect. With these techniques, you are well-equipped to create stunning lashes every day. Experiment with different products and methods to find what works best for you. Your best lashes are just a few careful swipes away.