We thoroughly assess all products before recommending them. We may be compensated if you choose to buy through links on our site.
Question: How to Apply Mascara Over 60?
Answer: How to Apply Mascara Over 60? First, curl lashes to lift the eye. Use a lash primer, then wiggle a defining mascara from the root of the top lashes up. Apply sparingly to bottom lashes to prevent smudging and accentuating fine lines.
Mastering Mascara Application After 60
Mascara can instantly brighten your eyes and make you feel more polished. Yet, the way we apply it needs to change as we age. Lashes can become thinner, straighter, or more sparse over time. The skin around our eyes also becomes more delicate, which changes how makeup sits and wears throughout the day. You are not alone if you are searching for how to apply mascara over 60. Many women find their old techniques no longer deliver the beautiful, wide-eyed look they want. Smudging, clumping, and flakes can become frustrating new problems. This is not about covering up; it is about celebrating your features with updated skills.
The right approach can define your eyes without looking heavy or harsh. We will explore simple adjustments that make a significant impact. You can achieve lifted, defined lashes that open up your entire face. Forget about past frustrations. We will cover everything from preparing your lashes to choosing the best formula. You will learn a new application method that prevents clumps and a gentle removal process that protects your delicate lashes. Let us rediscover the joy of mascara together.
5 Best Mascara for Older Women 2025
Mascara
Finding the perfect mascara can be a challenge, especially for older women who may have specific needs and pr.…
Prepare Your Lashes for a Flawless Finish
Proper preparation is the foundation of great mascara application. It ensures the product adheres well and gives you the best possible lift and curl. Many people skip these steps, but they are vital for mature lashes, which often need extra support. A few moments spent on prep can transform your final look from good to stunning. It also helps your mascara last longer without flaking or smudging under your eyes, a common issue that can draw attention to fine lines.
First, always begin with clean, dry lashes. Any residual oil or leftover makeup will prevent the mascara from coating your lashes evenly. Next, an eyelash curler is your most important tool. It physically lifts the lashes, opening up the eye area instantly. This mechanical lift does most of the work, so your mascara’s job is simply to add color and volume. Place the curler at the base of your lashes and gently pulse it a few times. Do not clamp down hard. A gentle touch prevents crimping. For an even better curl, you can warm the curler slightly with your blow dryer, but always test the temperature on your wrist first to avoid burns. This small step creates a beautiful, lasting curl that frames your eyes.
Related Article: Can Older Women Wear Blue Mascara?
Related Article: Should An Older Woman Wear Mascara on Bottom Lashes?
Choose Your Ideal Mascara Formula and Color
The mascara aisle presents many choices. Understanding the different formulas helps you pick the one that best suits your needs. As we mature, our lash goals often shift from dramatic volume to elegant definition and length. The right product will enhance your natural lashes without weighing them down or causing irritation. It is worth taking the time to find a formula that works for you. Your eyes are a focal point, and the right mascara enhances their beauty.
Consider these options for your lash type:
Lengthening Formulas
If your lashes are shorter, a lengthening mascara is an excellent choice. These formulas contain tiny fibers that attach to the ends of your lashes, creating the illusion of more length. They are typically lightweight and less prone to clumping than heavy volumizing mascaras.
Tubing Mascaras
Tubing mascaras are a fantastic option for preventing smudges. Instead of painting lashes with pigment, they form tiny, water-resistant “tubes” around each lash. These tubes do not flake or smudge, yet they remove easily with just warm water and gentle pressure. This makes them ideal for sensitive eyes or anyone who experiences raccoon eyes.
Brown Instead of Black
While black mascara is a classic, it can sometimes appear too harsh against mature skin tones. A soft brown or brownish-black mascara provides beautiful definition that looks more natural. It defines your eyes without creating a stark contrast, offering a softer and more flattering effect for daytime wear.
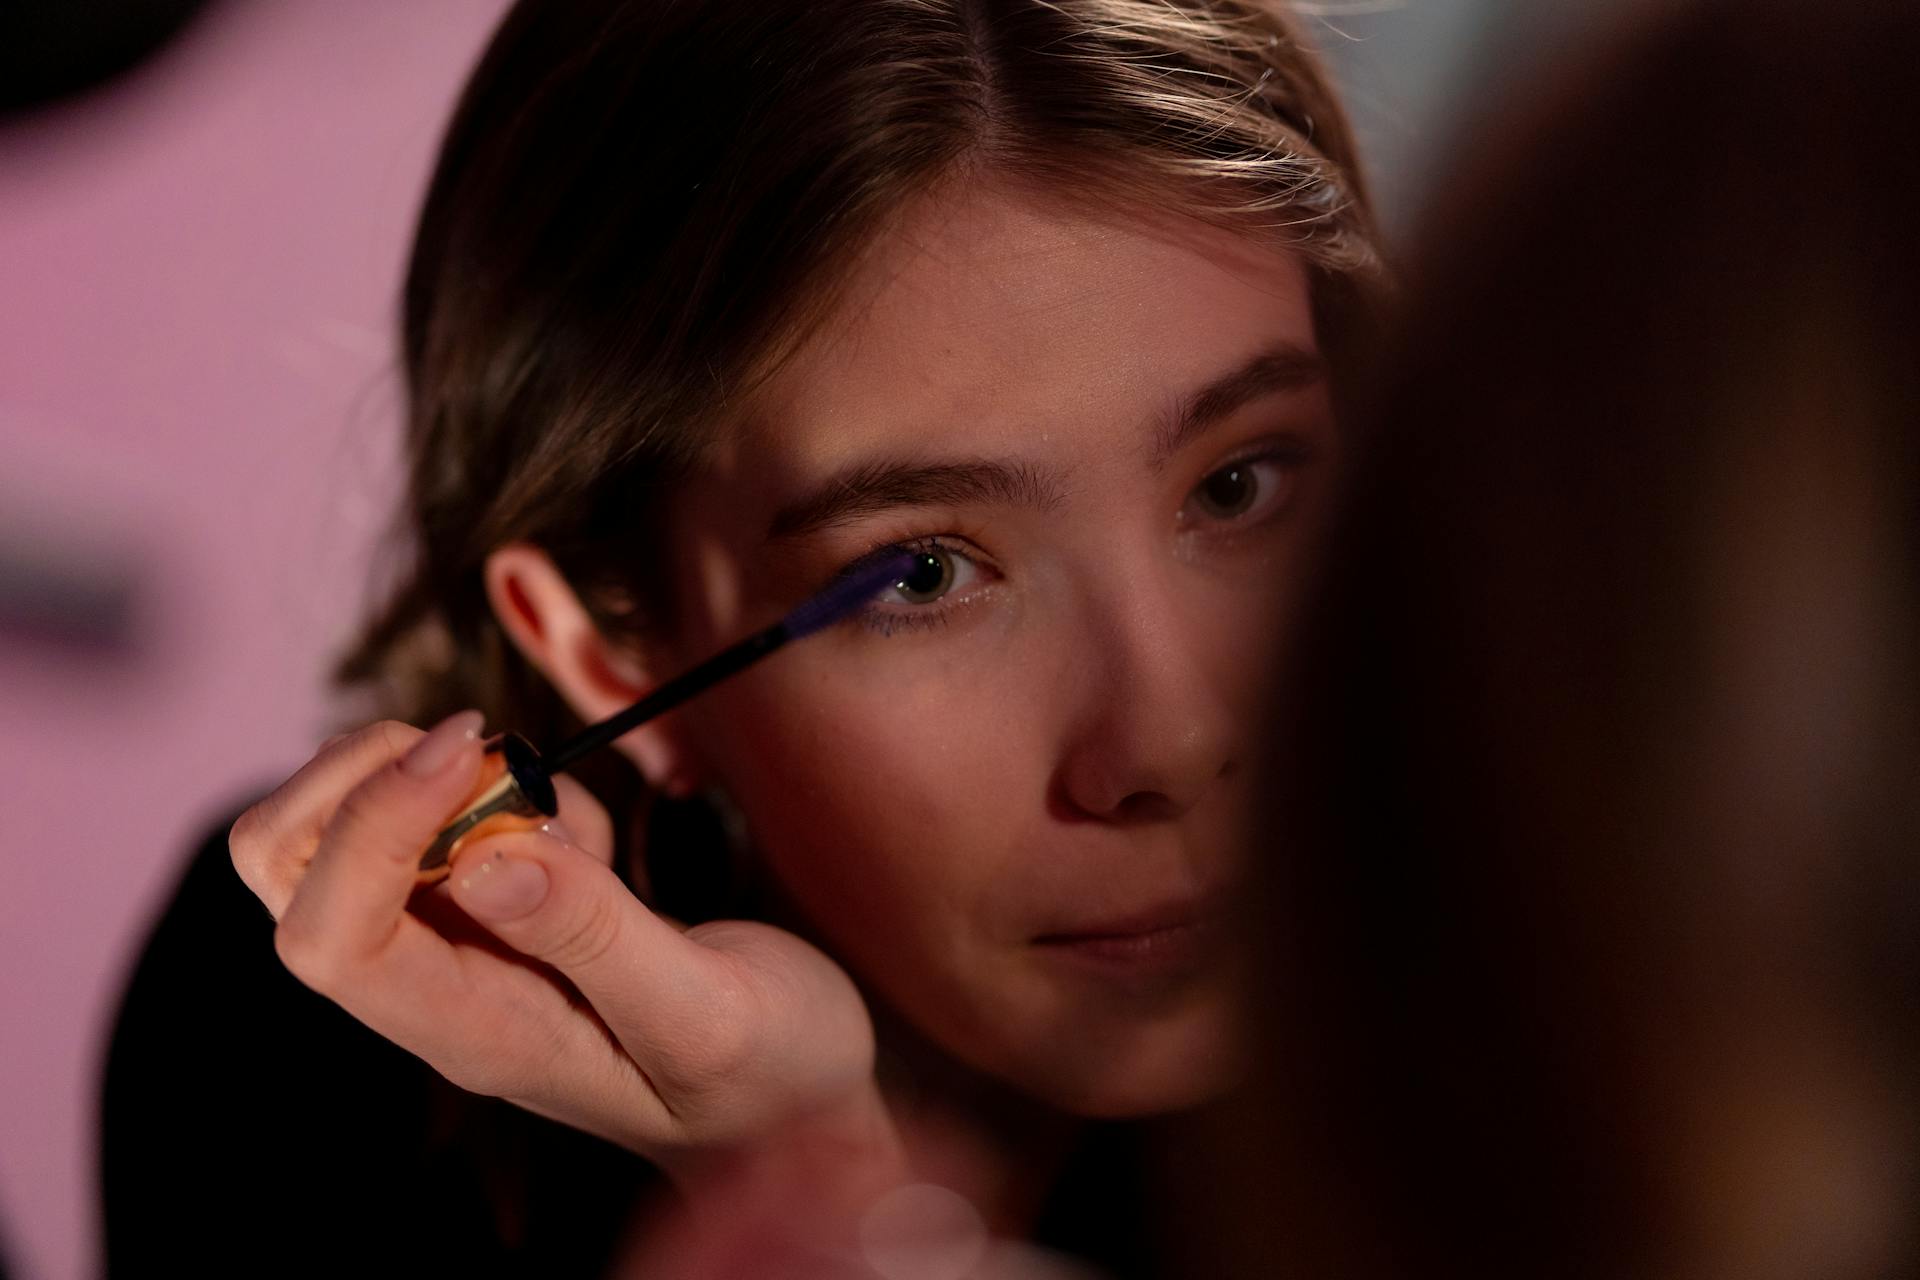
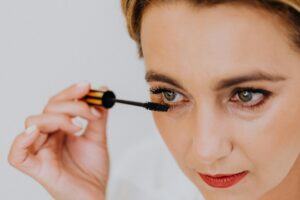
The Correct Technique for Upper Lash Application
Applying mascara correctly can lift your entire eye area. A simple change in your technique makes a huge difference. The goal is to deposit the most product at the roots for support and less at the tips to avoid drooping. This method builds a strong foundation for your lashes, giving them volume and lift right where it counts. It prevents the spidery, weighed-down look that can make eyes appear smaller. This approach requires a steady hand but becomes second nature with practice.
Start by getting a small amount of mascara on your wand. Wipe off any excess on the rim of the tube to prevent clumps. Look straight into a mirror and place the wand at the very base of your upper lashes. Instead of immediately swiping up, gently wiggle the wand back and forth. This side-to-side motion deposits a rich layer of color at the roots. This technique creates a tightlining effect, making your lash line appear fuller and more defined. After you have coated the base, you can then pull the wand straight up through the tips of your lashes. Apply one coat this way, let it dry for about 30 seconds, then apply a second coat if you want more impact. Focusing on the outer corner lashes can also create a more lifted, cat-eye shape.
A Delicate Touch for Lower Lashes
The lower lashes require a much different approach than the upper lashes. Applying too much mascara here can look heavy and accidentally highlight dark circles or fine lines under the eyes. It can also easily smudge throughout the day. Many women choose to skip mascara on the lower lashes entirely for this reason. However, a light touch of color can add balance and definition to your overall look, making your eyes appear larger and more open. The key is subtlety and control.
To avoid a clumpy or spidery appearance, use the very tip of the mascara wand. Instead of using the full brush, hold the wand vertically. Lightly tap the tip of the wand against your lower lashes. This technique deposits a tiny amount of product, giving you just enough color to define them without adding bulk or length. Another effective method is to use the mascara that is left on the wand after you have finished your top lashes. This ensures you are not applying a fresh, heavy coat. If you consistently struggle with smudging, consider using a waterproof or tubing mascara just for the bottom lashes. This provides extra security against transfer onto your skin.
Common Mascara Mistakes and How to Fix Them
Even with the best technique, mishaps can happen. Knowing how to quickly and easily fix them is part of mastering your makeup routine. One of the most common issues is clumping. This often occurs when there is too much product on the wand or when you apply a new coat before the previous one is fully dry. Another frequent problem is smudging mascara onto your eyelid during application. Rushing the process is usually the cause. Finally, applying too many coats can make lashes look heavy and unnatural.
Here are simple solutions to these common problems:
Dealing with Clumps
If you notice clumps forming, use a clean spoolie brush or a lash comb. While the mascara is still wet, gently comb through your lashes from base to tip. This action separates the lashes and removes any excess product, resulting in a clean, defined look.
Cleaning Up Smudges
If you get a mascara smudge on your eyelid or under your eye, do not wipe it immediately. Wiping while it is wet will only smear it further. Let the smudge dry completely. Once it is dry, take a dry cotton swab and gently flick it away. The dried mascara will flake off easily without disturbing your eyeshadow or concealer.
Avoiding Over-Application
A good rule of thumb is two coats of mascara are enough for a defined, polished look. Pumping the wand in and out of the tube forces air into the formula, causing it to dry out faster and become clumpy. Instead, gently swirl the wand inside the tube to pick up product.
Gentle and Thorough Mascara Removal
Removing your mascara properly at the end of the day is just as important as applying it. The skin around your eyes is the thinnest on your body, and aggressive rubbing can contribute to irritation and fine lines over time. Harsh removal can also damage your lashes, causing them to become brittle or even fall out. Taking a few extra moments to be gentle preserves the health of your skin and lashes. A consistent and careful removal process is a crucial part of any beauty routine.
Choose a makeup remover specifically formulated for eyes. Biphase removers, which contain both oil and water, are excellent for breaking down even stubborn waterproof mascara. Saturate a flat cotton pad with the remover. Do not use a cotton ball, as its fibers can get stuck in your lashes. Press the saturated pad gently against your closed eye and hold it there for at least 30 seconds. This gives the remover time to dissolve the mascara. After holding, gently wipe downwards in the direction of your lash growth. Do not rub back and forth. You can fold the pad and use a clean section to gently sweep under the eye to remove any remaining residue. Your lashes will thank you for the extra care.