We thoroughly assess all products before recommending them. We may be compensated if you choose to buy through links on our site.
Question: How to Correctly Apply a Lip Stain?
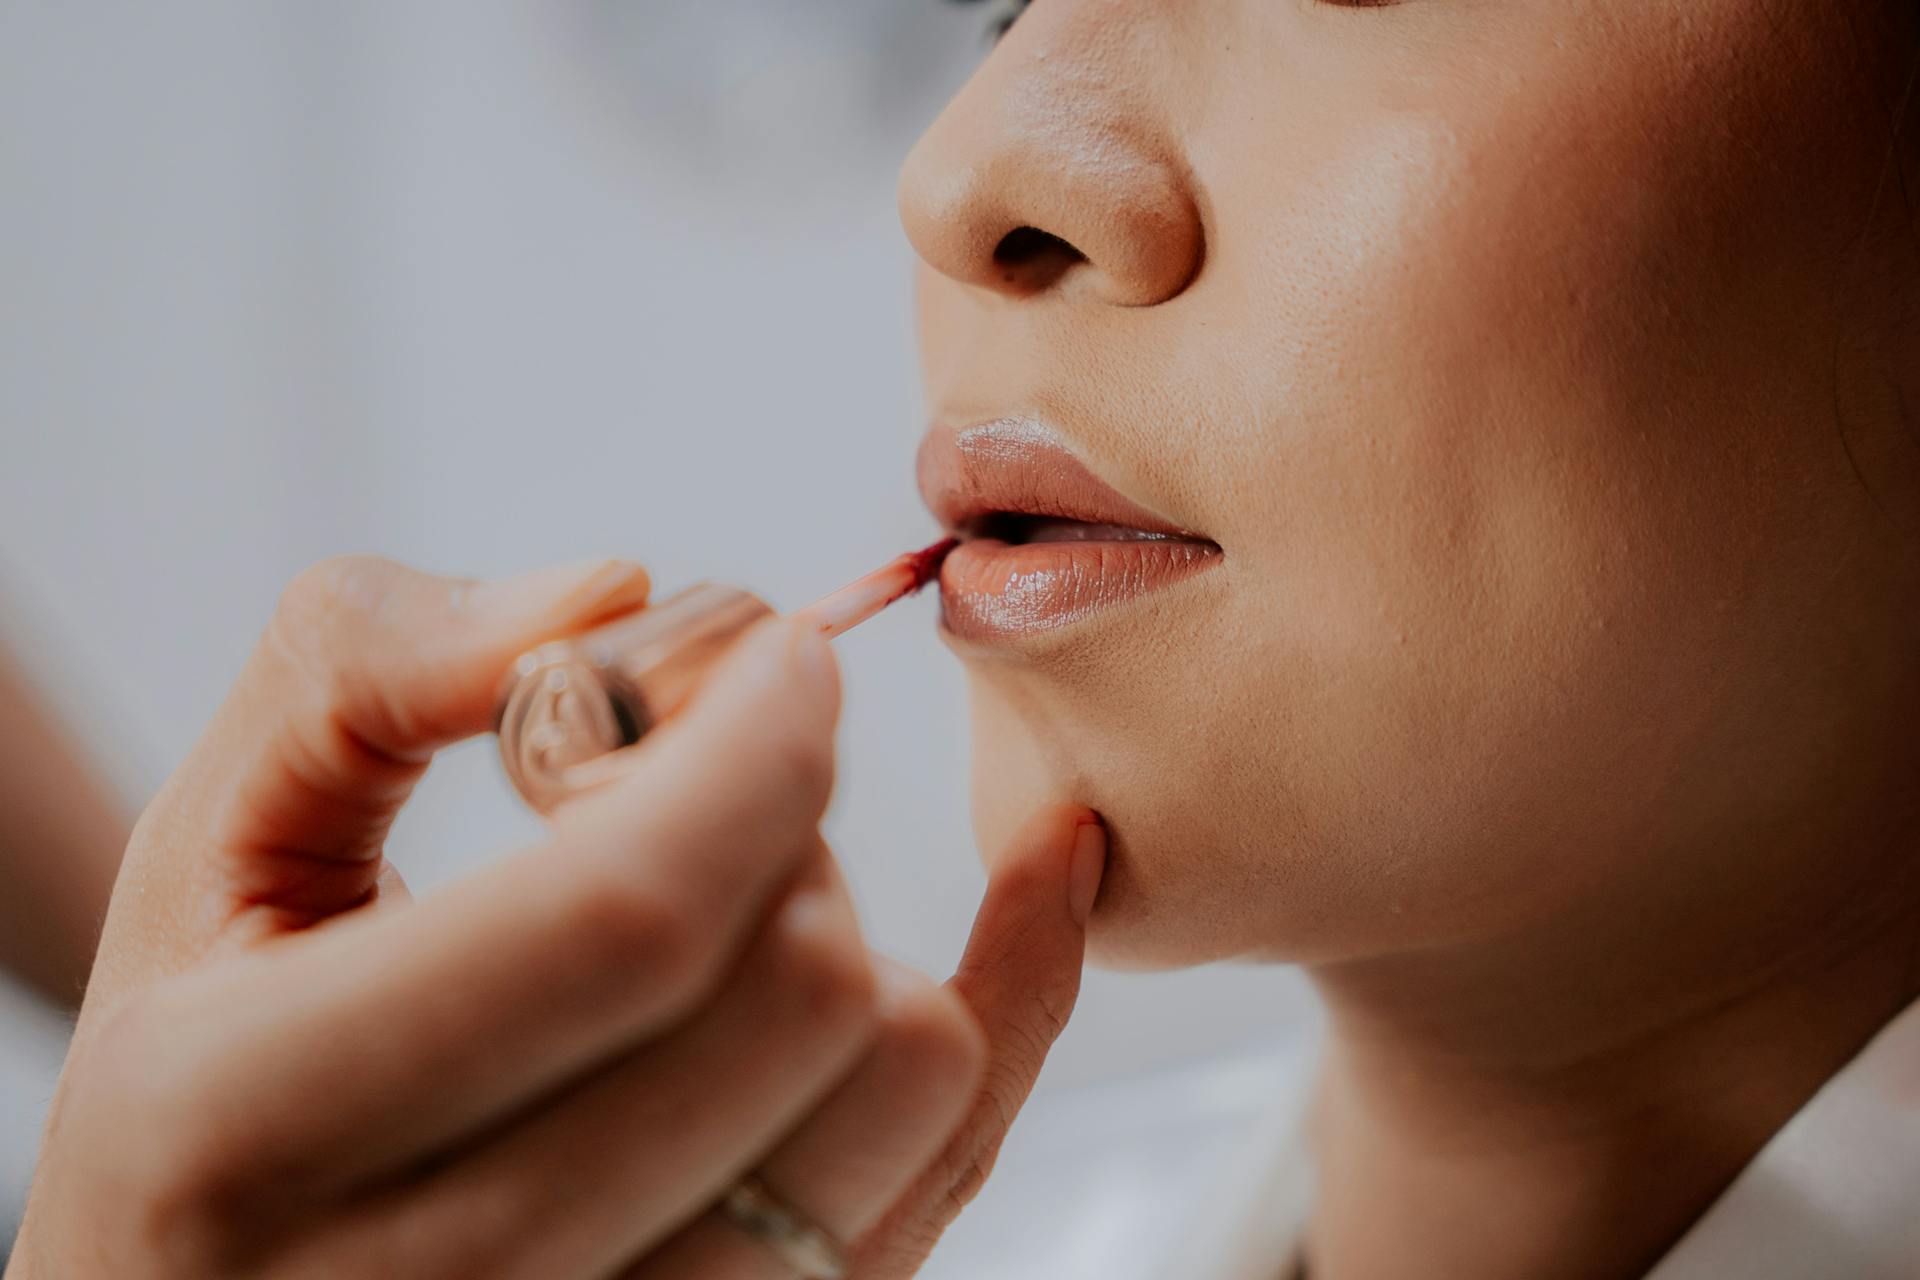
Answer: To correctly apply a lip stain, begin with exfoliated, moisturized lips. Apply a thin layer to the center and quickly blend outwards with a fingertip or brush before it dries. Add another layer for more intensity and clean the edges with concealer for a sharp, lasting finish.
Your Guide to Flawless Lip Stain Application
Lip stains offer a beautiful, long-lasting wash of color that feels weightless. Unlike traditional lipsticks, they tint your lips for a smudge-proof finish that endures through meals and meetings. The unique formulation penetrates the top layers of your skin, creating a look that is both natural and vibrant. Many people love the low-maintenance appeal of a good lip stain, as it eliminates the need for constant touch-ups throughout the day. You can achieve a variety of looks, from a subtle, just-bitten flush to a bold, saturated statement lip. The key to unlocking this product’s full potential lies in the application method. Learning how to correctly apply a lip stain ensures an even, comfortable, and long-wearing result.
Proper technique prevents patchiness and dryness, two common issues that can deter people from using these amazing products. This tutorial provides the necessary steps to perfect your lip stain application, giving you a professional-looking finish every single time you use it. You will learn the best practices for preparing your lips, selecting the right product, and applying it with precision for a look that truly lasts from morning to night.

Best Lip Stain for 2025
Lip Stain
From gentle toning to intense color correction, these lip stains offer targeted solutions for blonde and highlighted hair...
Prepping Your Lips for Lasting Color
A flawless lip stain application begins long before you uncap the product. The foundation of a perfect pout is smooth, hydrated skin. Lip stains adhere directly to your lips, so any dry patches or flakes will become more pronounced once the color is applied. This can result in an uneven, splotchy appearance that undermines the beautiful effect of the stain. You must create a pristine canvas to achieve that coveted seamless wash of color. Starting with a well-prepared base not only improves the final look but also enhances the longevity of the stain. When your lips are smooth, the product can absorb evenly, leading to a more consistent and vibrant tint.
Neglecting this crucial first step is the most common reason people experience difficulty with lip stain application. Taking just a few extra minutes for preparation will make a significant difference in your results and help you fall in love with the effortless beauty of a perfectly applied lip stain.
The Importance of Exfoliation
Exfoliation is your first line of defense against a patchy finish. You should gently slough away any dead skin cells to create a smooth surface. You can use a dedicated lip scrub with fine granules like sugar or a soft, damp washcloth to buff your lips in small, circular motions. Another simple trick involves using a clean, soft-bristled toothbrush to lightly brush your lips. This action effectively removes flakes without causing irritation. Perform this step one or two times per week, but avoid over-exfoliating, as this can lead to sensitivity or dryness. The goal is to reveal the fresh, soft skin underneath, which provides the ideal surface for the stain to cling to uniformly. This simple action ensures the color goes on smoothly and prevents the pigment from gathering in dry areas, a common problem that detracts from a clean, polished look.
Hydration is Your Best Friend
After exfoliating, the next essential step is to deeply hydrate your lips. A well-moisturized lip holds color better and feels more comfortable throughout the day. Apply a nourishing lip balm or a hydrating lip mask and allow it to absorb for at least ten to fifteen minutes before you begin your lip stain application. Look for balms with ingredients like shea butter, vitamin E, or hyaluronic acid for maximum moisture. This waiting period allows the product to fully penetrate the skin, plumping and conditioning your lips from within.
Just before applying the stain, you must gently blot away any excess balm with a tissue. Leaving a greasy or slippery film on your lips will prevent the stain from adhering properly, causing it to slide around and apply unevenly. The aim is to have lips that are hydrated and supple, not slick. This balanced approach provides the perfect texture for the stain to grab onto.
Related Article: Do You Wipe Off Lip Stains After Applying?
Related Article: How to Quickly Remove Lip Stains?
Choosing the Right Lip Stain Formula
The market offers a wide array of lip stain formulas, and finding the one that suits your needs is a key part of the process. Different formulations provide different finishes, levels of intensity, and application experiences. Some stains are watery and deliver a sheer, watercolor-like effect, while others have a gel or mousse texture that provides more opaque coverage. Understanding these differences helps you select a product that aligns with your desired outcome. Your personal preference for application tools also plays a role; some stains come with a doe-foot applicator, others have a marker-like tip, and some are peel-off formulas.
Experimenting with a few types can help you discover which one you feel most comfortable and confident using. The right formula will not only look great but also feel comfortable on your lips, avoiding any feelings of excessive tightness or dryness. Your choice of product directly influences the ease of application and the final result, so it is worth taking the time to explore your options.
Water-Based vs. Gel-Based Stains
Water-based stains are typically very thin and liquidy. They absorb into the lips quickly and provide a very natural, sheer tint. These are excellent for achieving the popular gradient or “popsicle lip” look, as they are easy to blend out from the center of the mouth. Because they dry fast, you must work quickly and precisely to avoid streaks. Gel-based or creamy stains have a slightly thicker consistency. They often provide more hydration and a more saturated color payoff than their water-based counterparts. These formulas are generally more forgiving during application, as they give you a bit more playtime to blend and perfect the edges before they set completely. If you are new to applying lip stains, a gel formula might be a more user-friendly starting point.
Finding Your Perfect Shade
Selecting the right shade is just as important as the formula. To find your most flattering color, consider your skin’s undertone. If you have cool undertones, look for stains with blue or purple bases, such as berry, fuchsia, or cherry red. Those with warm undertones will look stunning in shades with orange or yellow bases, like coral, terracotta, or warm reds. If you have neutral undertones, you can wear a wide range of colors successfully.
A great way to test a shade is to swatch it on your fingertip, which has a color and texture more similar to your lips than the back of your hand. Think about the intensity you want as well. A deep berry or classic red makes a bold statement, while a soft pink or muted peach provides a subtle enhancement for everyday wear. Do not be afraid to layer shades to create a custom color that is uniquely yours.
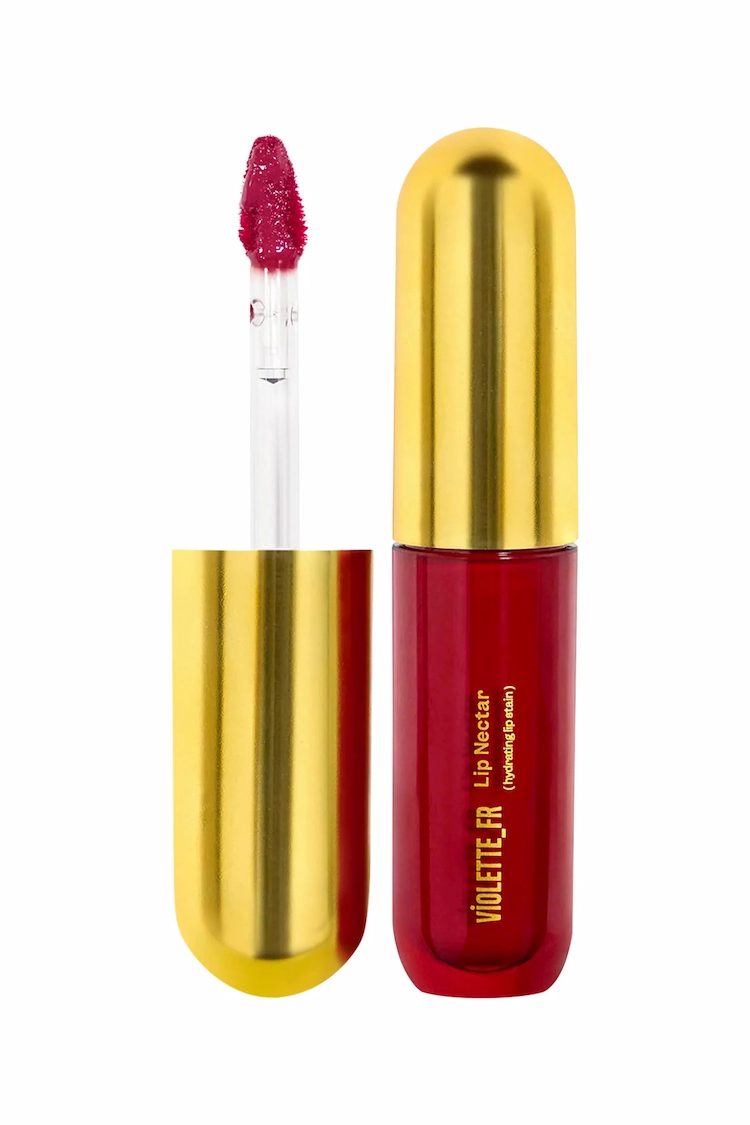
Violette_FR Lip Nectar Hydrating Lip Stain
Best Overall

Clarins Hydrating Water Lip Stain
Best Hydrating

Yves Saint Laurent The Inks Vinyl Cream
Best Shine
The Step-by-Step Application Method
Once your lips are prepped and you have chosen your product, you are ready for the main event. The application technique is what truly separates a good result from a great one. The goal is to build the color thoughtfully and define your lip shape for a polished finish. Rushing through this process is a recipe for uneven color and messy edges. Take your time, use a steady hand, and work in a well-lit area to ensure you can see exactly what you are doing. Using a mirror that you can place on a flat surface is helpful, as it frees up both of your hands for maximum control.
Remember that with most lip stains, it is easier to add more product than it is to take it away once it has set. Therefore, a “less is more” approach is always a good starting point. You can always build the intensity in layers until you achieve your desired level of saturation. This methodical approach is the secret to mastering how to correctly apply a lip stain for a flawless look every time.
-
Start with a Clean Slate
Make sure you have blotted off any excess lip balm from the previous step. Your lips should feel hydrated but dry to the touch. Any remaining residue can interfere with the stain’s ability to absorb evenly, creating a barrier between the pigment and your skin. -
Line Your Lips First
For ultimate precision, you can use a lip liner in a matching shade to outline your lips. This creates a clear boundary and prevents the stain from bleeding outside your natural lip line. If you do not have a matching liner, you can use the very tip of the stain’s applicator to carefully trace the perimeter of your lips before filling them in. -
Apply a Thin First Coat
Wipe any excess product off the applicator on the rim of the tube. Begin applying the stain at the center of your bottom lip, then blend it outwards towards the corners. Repeat this on your top lip. Work in thin, even layers. Press your lips together gently to distribute the color, but avoid rubbing them vigorously, as this can cause smearing. -
Build the Intensity
Let the first layer dry completely for about a minute. If you desire a more intense color, you can apply a second or even a third layer. Allow each layer to dry before adding the next one. This layering technique gives you complete control over the final opacity and ensures a longer-lasting finish.
Mastering Different Lip Stain Looks
One of the best qualities of a lip stain is its versatility. With a single product, you can create multiple distinct looks that are suitable for any occasion, from a casual day out to a formal evening event. The application technique you choose will determine the final effect. By learning how to manipulate the product, you can switch between a soft, diffused appearance and a sharp, high-impact pout. This adaptability makes lip stain an invaluable tool in your makeup arsenal. It allows you to tailor your lip color to match your mood, your outfit, or the event you are attending.
Understanding these different methods empowers you to move beyond a basic application and truly customize your makeup. Whether you prefer an understated elegance or a dramatic statement, your lip stain can deliver. Exploring these styles is a fun way to experiment with your look and get the most out of your product. The two most popular styles are the soft blotted effect and the bold saturated pout, each achieved with a slightly different approach.
The Soft, Blotted Effect
This look creates a delicate, romantic flush of color that appears as if it is blooming from within your lips. To achieve this, apply a small amount of stain just to the inner center of your top and bottom lips. Before it dries, quickly use your fingertip or a clean lip brush to tap and blend the color outwards towards the edges of your lips. The key is to create a soft, gradient effect where the color is most concentrated in the center and fades out gently. This technique gives the illusion of a fuller pout and provides a very natural, effortless finish. It is the perfect everyday look that adds a touch of life to your face without looking like you are wearing a lot of makeup. It is also incredibly forgiving, as the soft edges do not require perfect precision.
The Bold, Saturated Pout
For a high-impact, statement lip, you want to achieve full, opaque coverage with crisp, clean lines. This look requires more precision and control. Start by carefully outlining your lips with a matching lip liner or the fine tip of the stain’s applicator to create a defined shape. Then, fill in your lips completely, working in thin, even layers. Apply the first coat and let it dry fully. Follow up with a second coat to build the color intensity and ensure there are no sheer patches.
This method delivers a powerful pop of color that is smudge-proof and incredibly long-wearing. It is ideal for special occasions or any time you want your lips to be the center of attention. A clean, sharp edge is crucial for this look, so you can use a small brush with a tiny bit of concealer to clean up any mistakes around the perimeter of your mouth.
Troubleshooting Common Lip Stain Issues
Even with careful preparation and application, you might occasionally encounter some common challenges with lip stains. Issues like patchiness, bleeding, or difficulty with removal can be frustrating, but they are all fixable. Understanding why these problems occur is the first step toward preventing and correcting them. Most issues stem from either the condition of the lips or the application technique. For instance, patchiness often points to dry skin that was not properly exfoliated, while bleeding can be a result of applying too much product at once.
Knowing these quick fixes and troubleshooting tips will boost your confidence and ensure you can handle any lip stain mishap like a pro. Instead of giving up on a product, you will have the skills to make it work for you. Having these solutions ready means you can confidently wear your favorite lip stain without worrying about potential problems throughout the day. It allows you to enjoy the benefits of long-lasting color without any of the stress.
Fixing Uneven Patches
If you notice the stain has settled into dry patches or looks uneven after it has dried, do not try to fix it by rubbing your lips together, as this can make it worse. The best approach is to spot-treat the area. Take a very small amount of stain on the tip of a fine lip brush or a cotton swab. Gently dab the product only on the lighter, patchy areas to even out the color. Tap lightly to blend the edges of the new application with the existing color. Let it dry completely. For future applications, pay extra attention to exfoliating and hydrating that specific area to prevent the problem from recurring. This targeted approach is much more effective than trying to apply another full layer over the entire lip, which could lead to an overly thick or uncomfortable feel.
Removing Stubborn Stains
The long-wearing nature of lip stains is a major benefit, but it can make removal a challenge at the end of the day. A standard makeup wipe may not be enough to completely dissolve the pigment. The most effective method is to use an oil-based cleanser or a dual-phase makeup remover specifically designed for long-wear formulas. Apply the remover to a cotton pad and hold it against your lips for about thirty seconds. This gives the oils time to break down the stain. After holding, gently wipe the color away. You may need to repeat the process once or twice for very dark or persistent shades. Follow up by applying a generous layer of a rich lip balm to rehydrate your lips overnight after the removal process.
Conclusion – How to Correctly Apply a Lip Stain?
Perfecting your lip stain technique transforms this product from intimidating to indispensable. By focusing on proper lip preparation, choosing the right formula, and applying with a steady hand, you can achieve a beautiful, lasting look. The keys are a smooth, hydrated canvas and a layered, methodical application. Remember to start with exfoliation and moisturizing to prevent patchiness. Then, apply the stain in thin coats, allowing each to dry, for full control over the color’s intensity. Whether you desire a soft, diffused tint or a bold, saturated statement, these steps provide the foundation for success. With a little practice, you will master how to correctly apply a lip stain and enjoy its smudge-proof, effortless color all day long.