We thoroughly assess all products before recommending them. We may be compensated if you choose to buy through links on our site.
Question: How to Prepare Your Lips for Lip Stains?
Answer: To prepare your lips for lip stains gently exfoliate to remove dry flakes, then apply a hydrating lip balm. Allow it to absorb, then blot away any excess before application. This creates a smooth canvas for an even, long-lasting stain.
Achieve a Flawless Pout: Your Lip Stain Prep Routine
Lip stains give you vibrant, long-lasting color. They survive coffee, lunch, and long days without smudging. This staying power, however, can highlight any imperfection on your lips. Dry patches, flakes, and fine lines become more noticeable with a lip stain. The pigment clings to dry areas, creating an uneven, patchy finish that nobody wants. You can avoid this common issue with a simple preparation routine. A smooth, hydrated surface is the secret to a perfect lip stain application. Learning how to prepare your lips for lip stains will change your makeup game. You will achieve a seamless, saturated color that looks amazing and feels comfortable all day. This routine takes just a few extra minutes but makes a world of difference in your final look. Your lips will thank you, and your stain will look professionally applied every single time.

Best Lip Stain
Lip Stain
From gentle toning to intense color correction, these lip stains offer targeted solutions for blonde and highlighted hair...
The Foundation of Smooth Lips
Exfoliation is the first and most critical step for a perfect lip stain application. Lip stains have a thin, watery consistency that absorbs into the skin. When your lips are dry or flaky, the dead skin cells soak up more pigment than the healthy skin around them. This process results in a splotchy, uneven color that can appear much darker in some spots. A smooth canvas ensures the stain applies evenly for a uniform wash of color. You can exfoliate your lips using several effective methods. Many people enjoy creating their own gentle scrubs at home. A simple mixture of brown sugar and honey or coffee grounds and coconut oil works wonderfully. These ingredients gently buff away dead skin while providing some moisture.
If you prefer a store-bought option, many brands offer lip scrubs with beneficial ingredients like jojoba oil and vitamin E. You can apply these scrubs with your fingertip, using small, circular motions. You can also use a tool for exfoliation. A soft, clean toothbrush or a dedicated silicone lip scrubber can gently remove flakes. Brush your lips lightly for about 30 seconds to reveal the smoother skin underneath. Be careful not to scrub too hard. The skin on your lips is delicate and aggressive exfoliation can cause irritation or tiny tears. A gentle touch is all you need to create the perfect foundation for your color.
-
DIY Lip Scrub
You can mix one teaspoon of brown sugar with one teaspoon of honey. Apply the mixture to your lips and gently massage it for one minute. Rinse with warm water for instantly softer lips. -
Using a Tool
Apply a small amount of lip balm first. Then, use a soft toothbrush to gently brush your lips in a circular pattern. This method lifts away dry skin without causing irritation.
Related Article: How Long Do I Leave on a Peel Off Lip Stain?
Related Article: Does Lip Stain Darken Lips?
Hydration is Your Best Friend
After you exfoliate, your lips need immediate and deep hydration. Exfoliation removes the outer layer of dead skin, exposing fresh, new skin. This new skin is very receptive to moisture but is also vulnerable to drying out quickly. Applying a high-quality lip balm right after you scrub is essential. This action locks in moisture and keeps your lips feeling soft and plump. Look for lip balms with nourishing ingredients. Emollients like shea butter and cocoa butter soften the skin. Occlusives such as petrolatum or beeswax create a protective barrier that prevents moisture loss. Humectants like hyaluronic acid and glycerin draw moisture from the air to your lips.
For an intense hydration treatment, incorporate a lip mask into your routine. You can apply a thick layer of a rich lip mask or balm before you go to sleep. You will wake up with incredibly soft, smooth, and repaired lips. This overnight care makes a significant impact on your lip health and texture. Also, remember that internal hydration is important. Drinking plenty of water throughout the day keeps your entire body, including your lips, hydrated from the inside out. Well-hydrated lips are naturally fuller and less prone to chapping. This consistent care makes every lip stain application much easier and more effective. It is the best way to prepare your lips for lip stains long term.
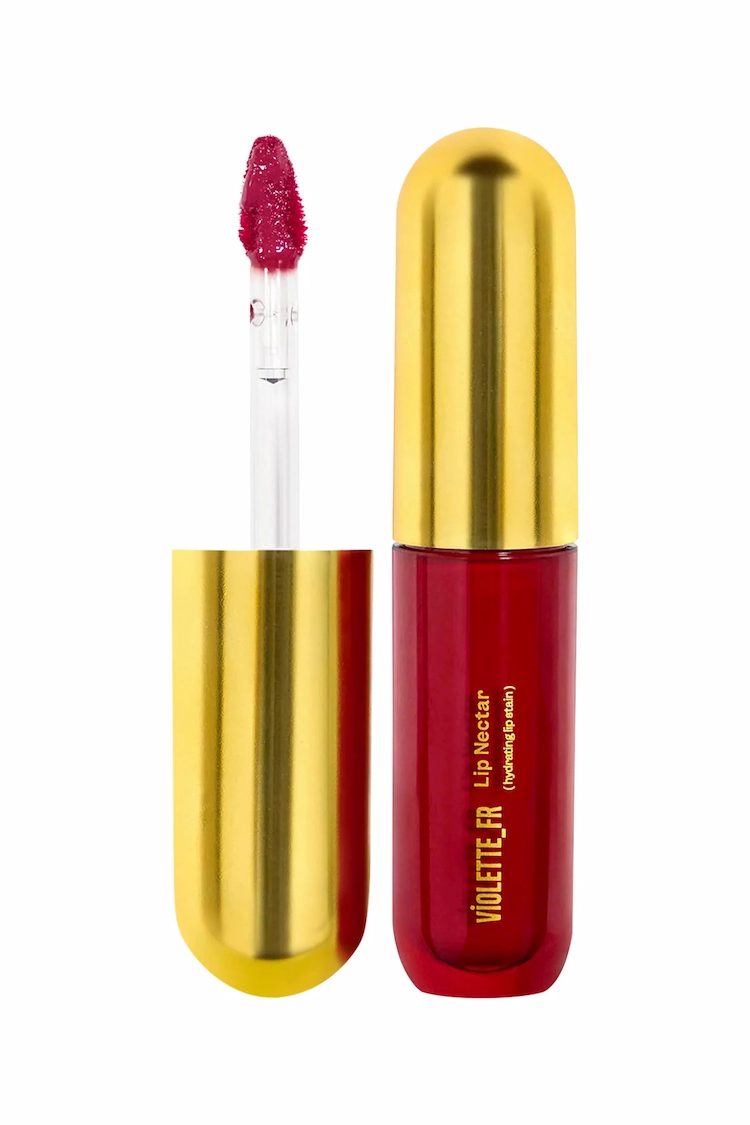
Violette_FR Lip Nectar Hydrating Lip Stain
Best Overall

Clarins Hydrating Water Lip Stain
Best Hydrating

Yves Saint Laurent The Inks Vinyl Cream
Best Shine
Creating the Ideal Base
The moments right before you apply your lip stain are crucial for achieving a lasting finish. Even after you exfoliate and moisturize, you must create the right surface for the color. Lip stains need a clean, non-greasy canvas to adhere properly. If your lips are covered in a thick layer of balm, the stain will slide around and fail to set. The oils in the balm will prevent the pigment from sinking into your skin. The first step is to gently blot your lips with a tissue. This action removes any excess balm while leaving your lips hydrated. You want your lips to feel smooth and moisturized, not slick or oily. Press a tissue firmly against your lips to absorb any residue.
Next, consider using a lip primer. A lip primer is a product that creates an optimal base for lip color. It works by filling in any fine lines on your lips, which prevents the stain from feathering or bleeding into them. Primers also create a uniform texture, helping the stain glide on smoothly and appear more vibrant. Apply a very thin layer of primer and let it set for a minute before you proceed with your lip stain. If you do not have a lip primer, you can use a different technique. A light dusting of translucent setting powder over your lips can work in a similar way. The powder absorbs any remaining oil and gives the stain something to grip, which can increase its wear time.
Master Your Lip Line
Defining your lip shape with a liner is a professional trick that elevates your lip stain look. Because lip stains have a liquid formula, they have a tendency to bleed outside the natural lip line. This feathering can create a messy, undefined appearance. A lip liner acts as a physical barrier, keeping the fluid stain exactly where you want it. This step gives you crisp, clean edges for a polished and sophisticated result. Choosing the right lip liner shade is important. For the most natural look, select a liner that closely matches your own lip color. A nude liner is a versatile option that works with almost any stain color. You can also choose a liner that perfectly matches the shade of your lip stain for a bold, seamless effect.
The application technique makes all the difference. Start by carefully outlining your lips. Use short, precise strokes to follow your natural lip line. You can also slightly overline your lips if you want to create the illusion of a fuller pout. After you have defined the edges, fill in your entire lip with the liner. This action creates a complete base coat. The waxy texture of the liner gives the stain something to adhere to, which dramatically improves its staying power. When you apply the stain over this filled-in base, the color will appear richer and last much longer without fading or bleeding. This simple step ensures your lip color remains flawless for hours.
Perfecting Your Stain Application
The way you apply your lip stain directly affects the final outcome. A careful and methodical application ensures even color and longevity. Always start with a very thin layer of product. Most lip stains are highly pigmented, and a little goes a long way. It is much easier to build up the intensity with additional layers than it is to correct an application that is too thick or dark. Scrape any excess product off the applicator on the inside of the tube before you begin. Apply the stain to the center of your bottom lip first. Then, gently press your lips together to transfer some of the color to your top lip. This technique distributes the product evenly and provides a great starting point.
Next, use the applicator to refine the shape. A doe-foot applicator is great for spreading color, but a separate lip brush offers more precision, especially around the Cupid’s bow and the outer corners of your mouth. Using a brush allows you to paint the color on exactly where you want it, preventing mistakes. Work quickly, as many lip stains dry down fast. Once the product sets, it is difficult to move or blend.
-
The Blot and Build Technique
This method creates a deeply saturated, incredibly long-lasting finish. Apply your first thin coat of lip stain and let it dry for about a minute. Take a single-ply tissue and gently blot your lips to remove any excess product. This leaves behind a pure stain on the skin. Then, apply a second thin coat of the stain over the first one. This layering process intensifies the color and locks it in place for all-day wear.
Maintain and Remove Like a Pro
Your work is not finished once the lip stain is on. A few simple post-application steps will maintain the look and ensure easy removal later. First, you must give the stain adequate time to dry. Resist the urge to rub your lips together or touch them for at least a few minutes after the final coat. This patience allows the pigment to set completely, which is key to its transfer-proof quality. Once the stain is fully dry, your lips might feel a little tight. If you prefer a more comfortable or glossy finish, you can apply a clear balm or gloss on top. This will not disturb the color underneath and will add a nice shine and extra moisture.
Conclusion
At the end of the day, removing a lip stain requires a specific approach. These products are designed to be stubborn, so soap and water will not be effective. You need an oil-based cleanser or a dedicated makeup remover to break down the formula. Apply an oil cleanser, a biphasic eye and lip remover, or even plain coconut oil to a cotton pad. Press the pad against your lips and hold it there for 20 to 30 seconds. This gives the oil time to dissolve the long-wearing pigments. After waiting, gently wipe the color away. Avoid scrubbing your lips, as this can cause irritation. After you remove all the color, follow up with a generous layer of a nourishing lip balm to replenish moisture and keep your lips healthy.
A beautiful lip stain application is not about luck. It is about preparation. By taking the time to exfoliate, hydrate, and prime, you create the perfect canvas for color. These simple steps ensure your lip stain glides on smoothly, wears evenly, and lasts all day. Mastering how to prepare your lips for lip stains transforms your makeup routine from frustrating to flawless. You can now confidently wear any bold or subtle shade, knowing your pout looks impeccable.